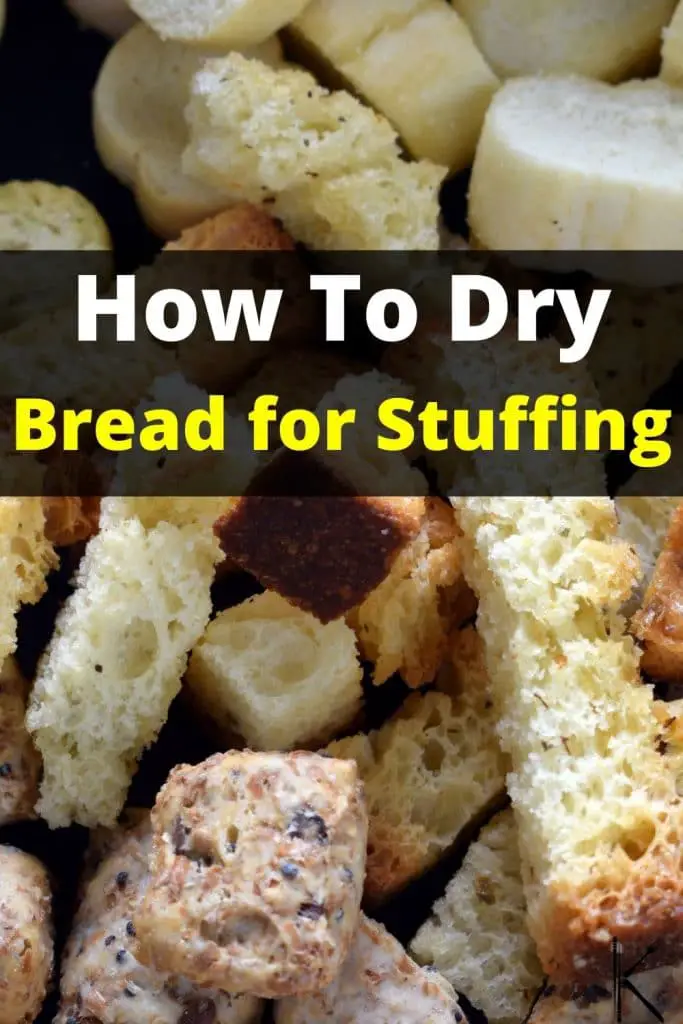
In short, there are five steps to dry bread for stuffing: prepare, cut, bake, check and turn, and cool and pack. The bread is cut into cubes and baked in a low oven until crisp and golden.
Drying bread is the best way to prevent waste and to prolong its shelf-life by repurposing it. Dried breadcrumbs and bread cubes are not only ideal for stuffing but can also be used in bread pudding, as a crispy pie or macaroni topping, breading for schnitzel, or as croutons.
Follow this guide to dry and store leftover bread for the perfect last-minute stuffing solution.
Can Bread Be Dried for Stuffing?
Yes, there is no need to wait two to three days for stale bread before you make stuffing. It’s a lot faster to pop open the oven and dry out bread yourself. Not only will you get a better result in the end but you can keep the crumbs to use at any time in the future. Freshly baked bread is easy to dry and the great thing is that you can use almost any type of bread, even though the stuffing quality may vary accordingly. Drying the bread is necessary to prevent that you end up with soggy stuffing.
How to Dry Bread for Stuffing
Step 1: Prepare
Preheat the oven to 250 °F (121 °C). It is best to use a low temperature to avoid burning the bread. Higher temperatures can be used for bigger chunks or drying it in less time, however, you will have to keep a close eye on it as it can burn very quickly.
Get a baking tray ready and if desired line it with a sheet of parchment paper (optional).
Step 2: Cut
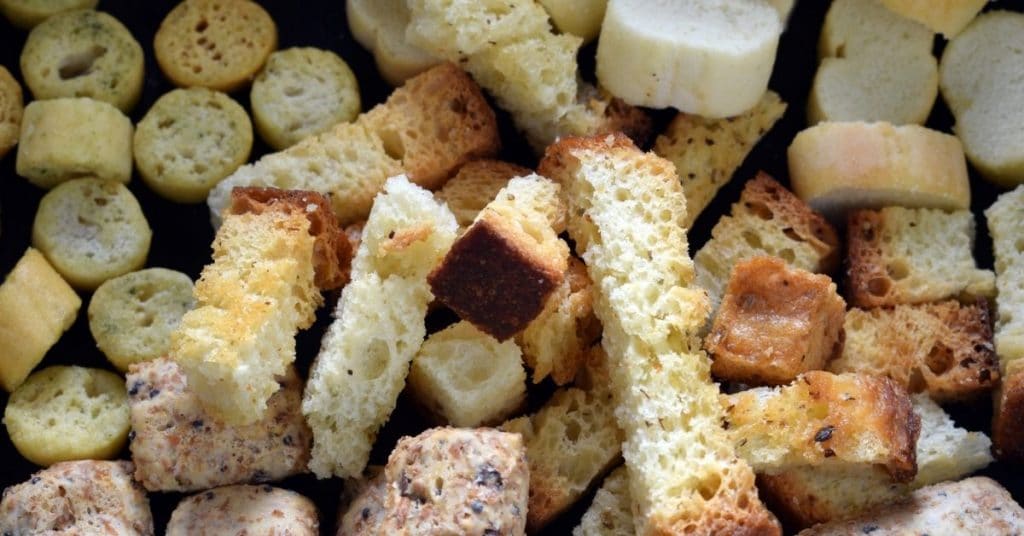
If it is not pre-sliced, cut the bread into even slices using a serrated knife. Then, cut the slices into approximately half inch cubes (1.3 cm). Try to keep them all at a similar size so that the drying time is the same and they dry evenly. The crust can be left on the bread.
If desired, you can lightly coat the bread cubes with olive oil and seasoning. However, leaving them plain offers more versatility if you want to use them for sweet and savory dishes at a later stage.
Step 3: Bake
Spread the cubes of bread on the baking sheet in an even layer so that they do not touch or overlap each other. If you have a cooling rack, place the cubes on the rack in a single layer with the tray underneath. This way there will be even airflow around the top and bottom of the bread.
If you are making a big batch, rather use two trays than overcrowding one. Place the cubes in the oven for 10 minutes. The drying time needed will depend on the amount of bread, temperature, and size of the cubes.
Step 4: Check and Turn
After 10 minutes check the cubes. Turn them so that any soft sides can crisp up further. When completely dry, they should be hard and crunchy with a golden brown color. Break one open. The center should also be crisp. If needed leave them in longer, checking every few minutes.
Step 5: Cool and Pack
Remove the dry bread cubes from the oven and let them cool down completely for 10 to 20 minutes. Pack the cooled cubes into airtight containers or good quality resealable bags and mark with the date. Store it in a cool, dry area out of direct sunlight.
The cubes can also be frozen to keep for up to 2 months. If you freeze the cubes, make sure that all the air is squeezed out of the packaging and that it is tightly sealed to avoid freezer burn.
Tip: To make breadcrumbs, break the bread into a food processor and pulse to form crumbs. Spread the crumbs out on a baking sheet in a thin layer and bake as you would cubed bread. The crumbs will need to be stirred every few minutes to ensure even drying.
When golden and crisp throughout, remove and let it cool before packing.
Types of Bread Used for Stuffing
Stuffing, also known as filling, or dressing, is generally a mixture of bread cubes or crumbs, herbs, onion, spices, celery, and can include dried fruit and nuts.
The technique of ‘stuffing’ was originally a method of filling a cavity in the preparation of another food item such as a turkey or chicken. It was used to prevent moisture loss while absorbing and augmenting flavors during the cooking process. Modern cooking, however, often involves preparing the stuffing separately and then adding it to cooked poultry, seafood, or vegetables.
The best bread to use for stuffing is bread with simple ingredients, a neutral flavor, and dense, tight crumb. White bread and brioche are good choices. The other stuffing component aromas are absorbed into the crumb of the bread, therefore, you do not want a strongly flavored bread that will clash with the stuffing flavors.
Bread with large open holes (such as ciabatta) won’t absorb or hold as much of the liquid and stuffing flavor. This is why bread with a tight crumb or denser texture is preferred.
When choosing bread for stuffing avoid highly hydrated bread such as pumpernickel as it contains a large percentage of moisture already. The density hinders the bread’s ability to soak up the broth, meat juices, and other flavors.
FAQ
How long does dried bread last?
Dried bread cubes will last for one week at room temperature or up to 2 months if kept in the freezer.
Can you use the crust in bread stuffing?
Yes, the bread crust can be used for stuffing. It will be drier and may need more broth or other liquid when preparing the stuffing to rehydrate it.
Do you have to use dried bread for stuffing?
Yes, bread for stuffing needs to be well dried. Using soft, fresh bread will result in the stuffing turning into a soupy mush. Home cooks who have an air fryer with a dehydrate setting you can use it to dry bread too.
Should I cook stuffing inside the bird?
Cooking stuffing inside the bird is a popular tradition. However, there are potential health and safety risks possibly resulting in foodborne illness. We recommend always cooking it outside.
Is it better to dry bread for stuffing or let it go stale naturally?
The drying out process ensures that excess moisture is evenly eliminated and that the flavor of other ingredients can be evenly absorbed. Stale bread that has not been dried out may still contain hidden pockets of moisture which form when the starch molecules crystallize. This can result in a slightly muted flavor of the additional stuffing ingredients.
Will bread dry out overnight for stuffing?
Yes, leaving bread out overnight will allow it to dry out and become stale, which is ideal for making stuffing as it will absorb flavors better without becoming mushy.
Conclusion
Don’t waste any slightly stale bread or bagels, rather dry them in the oven for your favorite Thanksgiving stuffing recipe. Not only is dried bread great for stuffing but it can also be used in soups, breading for meats, poultry, vegetables, mac ‘n cheese topping, and even bread pudding.
Dried bread cubes or crumbs will last for up to two months if kept in airtight packaging in the freezer.
To maximize versatility for sweet and savory dishes, use unflavored bread with a neutral taste. Happy cooking!
As a qualified Holistic Nutritionist, Helga has also combined her passion for good food and healthy living in wellness coaching. After years practicing in the catering and hospitality industries, Helga now focuses on sharing her knowledge and experience with others through writing about food tips, cooking advice, wellness, global food trends, and travel.